

How to Make a Photobook. A Step-by-Step Guide


In our digital age, where photos often live on screens or make it straight to social media, putting happy memories in print in a personalised photobook feels so much more special. A well-curated photobook is a beautiful keepsake, a tangible way to revisit your favourite moments, instilling them with renewed life and appreciation.
This step-by-step guide will equip you with the necessary know-how to create a visually appealing and meaningful photobook printing. So, gear up and press pause on scrolling through your endless camera roll as we dive into the enlightening expedition of making a photobook.
How to Make a Photobook Easily?
Creating a photobook is like putting together a visual storybook of your favourite memories. It's a fun and creative way to showcase and share your favourite photos with others. From organising your photos to selecting the perfect photobook style, theme, and cover design, each step of making a photobook adds a personal touch to your photobook. As you flip through the pages, adding captions and special features, you'll see your memories come to life in a unique and meaningful way. So, let's dive in and discover how to make a photobook easily, step by step!
Step 1: Choose a Photobook Theme
Selecting a theme is essential to crafting a cohesive and engaging narrative when creating a photobook. Your theme sets the tone for your photobook, guiding the selection of photos and influencing the overall design. From documenting special occasions like weddings or birthdays to creating thematic collections, the theme you choose will shape your photobook's visual and emotional impact. Embrace your creativity and choose a theme that resonates with your memories.

Step 2: Select and Organise Your Photos
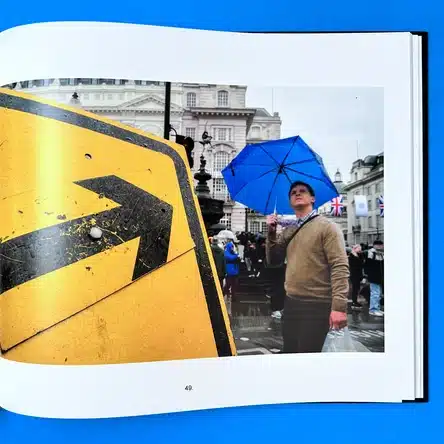
Once you have identified your theme, it's time to select and organise your photos from your desktop with special embellishments and fun illustrations. This step involves careful scrutiny, ensuring you only include photos that fit your theme and tell the story you want to share. From candid moments to posed portraits, each picture is a memory snapshot, lending individual character to your photobook. Always opt for high-resolution photos to avoid pixelation and blurriness in your final book, as this will save you a lot of time in the printing process. Use your smartphone's photo software or editing apps to enhance each frame and add the finishing touches for optimum print quality.

Use High-Quality Photos
The quality of your photos is essential for a stunning photobook template. To ensure top-notch images, always choose high-resolution pictures that print well. Avoid dark photos, as they may not look good in print. Use photo editing apps to brighten up any dark images that you want to include in your photobook.
Think About Your Story
Once you have selected high-quality photos, consider the story you want to tell. Frame your photobook as a journey, with photos as milestones. Arrange them chronologically or by elements like colour schemes or subject content. Ensure a visually engaging narrative that reflects your unique experience.
Get Friends and Family Involved
Involving friends and family in creating your photobook can add depth and variety to your collection of memories. Ask loved ones for their photos to provide diverse perspectives on weddings or get-togethers. Gathering more photos enhances the storytelling in your book and turns the project into a collaborative effort, ensuring every moment is captured from different viewpoints.
Step 3: Pick a Cover Design
The cover of your photobook is the first impression anyone will have of your memory collection. It sets the tone and evokes interest, drawing the viewer to explore your narrative. Choosing the right cover involves aligning it with the contents of your photobook. Choose a minimalist design for a modern tale, or be bold with patterned covers for fun-filled narratives.
Softcover
A softcover is a versatile option, providing lightweight flexibility and durability, perfect for frequent use. It is ideal for children's photobooks or albums intended for regular viewing. A softcover's casual and approachable nature is well-suited for themes showcasing everyday moments or informal gatherings. It is also a budget-friendly option for printing numerous books for school projects, community events, or reunions, especially when paired with a fitting design and colour scheme to capture attention.
Photo Hardcover
Consider opting for a durable photo hardcover scrapbook made with the highest quality for a touch of elegance and durability in your photobook. These sturdy covers protect your cherished memories, making them ideal for milestone events like weddings or anniversaries. Choose a standout photo for the cover and complement it with creative typography to enhance the visual appeal of your photobook.
Window Cover
A window cover creates anticipation by providing a glimpse into the photobook's contents, captivating viewers with a compelling photo. This interactive design sparks curiosity and encourages exploration of the visual story you've crafted.
Step 4: Customise Your Layout
Designing your ideal photobook is far more than arranging photos. Customising your layout provides an opportunity to experiment with different layouts, presentation styles, and fun stickers. It's not just about the images; it's about how they interact on the page, including considerations for the range of sizes and book size. With our guidance, you'll find what will work best for your photobook, identifying the aesthetic harmony among your selected photos, their spatial relationship, and open space usage.

Less is More
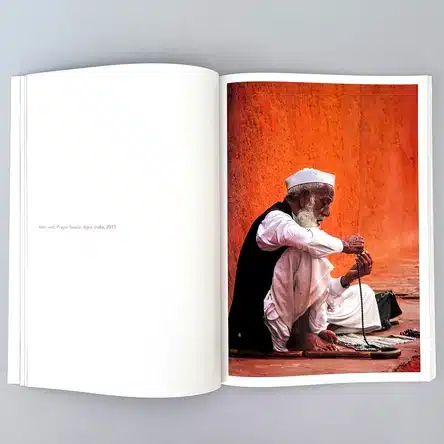
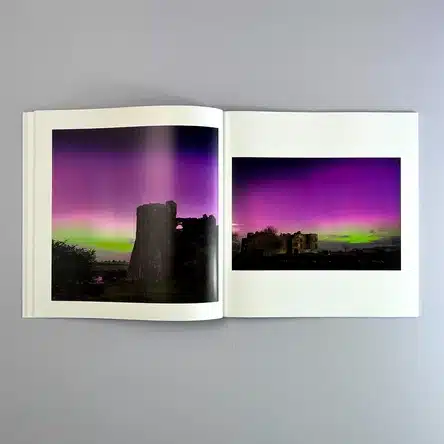
When creating your photobook layout, remember that simplicity is key. Avoid overcrowding by giving each hand-picked image its own space to shine. Make sure to find the right size for each image and group complementary photos together on each page while showcasing standout shots on full pages for maximum impact. This minimalist approach allows your photos to stand out and create a visually appealing photobook.
Find That Balance
A well-designed photobook relies on achieving visual balance, ensuring each photograph is appreciated and guiding the viewer smoothly across the page. To achieve this, distribute photos evenly, blend different image types, create a rhythm with layouts, and incorporate variance in photo sizes for dynamic pages. Striking a good balance enhances the photobook's attractiveness and viewer experience.
White Space is Good
White or negative space is the empty area around design elements like photos in a photobook. It provides breathing room, preventing a cluttered feel. Utilising white space can give visual contrast, aid readability, and create a clean, sophisticated look. Consider including blank pages for personal messages or mementoes to add intimacy and intrigue for readers.
Step 5: Add Captions and Text to Your Photobook
Incorporating text captions into your photobook is crucial for enhancing the storytelling potential of your images. Captions should be concise and informative, providing context without overwhelming the reader. Consider using text captions as chapter headings to organise your photobook into sections. Beyond captions and headings, include quotes, lyrics, or personal anecdotes to deepen the emotional impact of your photos. Choose a typeface that complements your design and mood. Shutterfly offers a variety of font options for a seamless text integration process. Remember, a well-crafted photobook blends words and pictures that create lasting memories.
Step 6: Enhance Your PhotoBook with Special Features
While a compilation of beautiful photos and engaging text makes for a great photobook, enhancing your book with special features can make it exceptional. Consider integrating unique elements like layflat pages and glossy pages to elevate your photobook's appeal. Such features add great quality, professionalism, and aesthetic appeal, providing a more luxurious and immersive browsing experience.
Glossy Pages
Opt for glossy pages to enhance your photobook's impact. The high-sheen finish deepens colours, adds elegance, and amplifies vibrancy. Vivid hues pop on glossy pages, perfect for colourful events like festivals or parties. Your photos will come to life with crystal-clear sharpness and radiant details, creating a polished, impressive photobook.
Leverage Ex Why Zed for Your PhotoBook
Now that you have the steps and tips for creating your own photobook, it's time to bring your plans to life. Ex Why Zed is a highly accessible platform you can use for your photobook project. Renowned for their Mixed-Discipline Printers, we offer a wide range of photobook styles and special features to cater to various customer needs and preferences.
With an intuitive interface for designing and ordering, as well as an app for on-the-go creation, Ex Why Zed makes the photobook creation process seamless and enjoyable. Our photo editing features further enhance the customisation options available to you. Partner with Ex Why Zed for your photobook project and experience premium quality printing, various styles and features, and user-friendly design tools.
Conclusion
Whether you're creating a photobook to capture snapshots of everyday life or crafting an elegant wedding album, the process can be a fulfilling mix of creativity and nostalgia. Poring over treasured photographs and artfully arranging them in a tangible collection offers an intimate journey of reminiscing the most cherished moments of your life.
Though the process might seem daunting initially, with a clear thematic focus, organised photos, and a dose of creativity, you can create a visually stunning narrative that does justice to your special memories. Remember, patience and persistence are your allies in this creative endeavour. After all, the craft of immortalising memories in a photobook is as much about the journey as the outcome. Happy crafting!
Frequently Asked Questions
What are the best ways to create a photobook online?
The best way to create a photobook online is to choose a reliable platform like Ex Why Zed, organise high-resolution photos, choose a theme, select engaging layouts, and accessorise them with suitable captions. Remember to systematically follow the steps provided in our guide for the best outcomes.
How many photos should be in a photobook?
There is no hard-and-fast rule regarding the number of photos in a photobook. It depends on your book's size, the number of pages, and your personal preference. However, try not to crowd your pages to ensure every picture gets the attention it deserves.
What is the difference between a layflat photobook and a traditional one?
A traditional photobook has pages that turn at a crease. In contrast, a layflat photobook features pages that lay completely flat, providing a seamless transition from the left to the right page, resulting in an uninterrupted visual flow.
Can I have more than one photo on a page?
Yes, absolutely! You can choose from various layout options, including one or multiple photos per page. However, remember to balance and not overstuff your pages, ensuring each photo gets the attention it merits.
How can I make my photo album stand out?
To make your photo album stand out, consider using high-quality photos, choosing a unique theme, personalising your layouts, adding fascinating captions and incorporating special features like glossy pages or a layflat design. Creative involvement from family and friends can also add a unique touch to your photobook.