

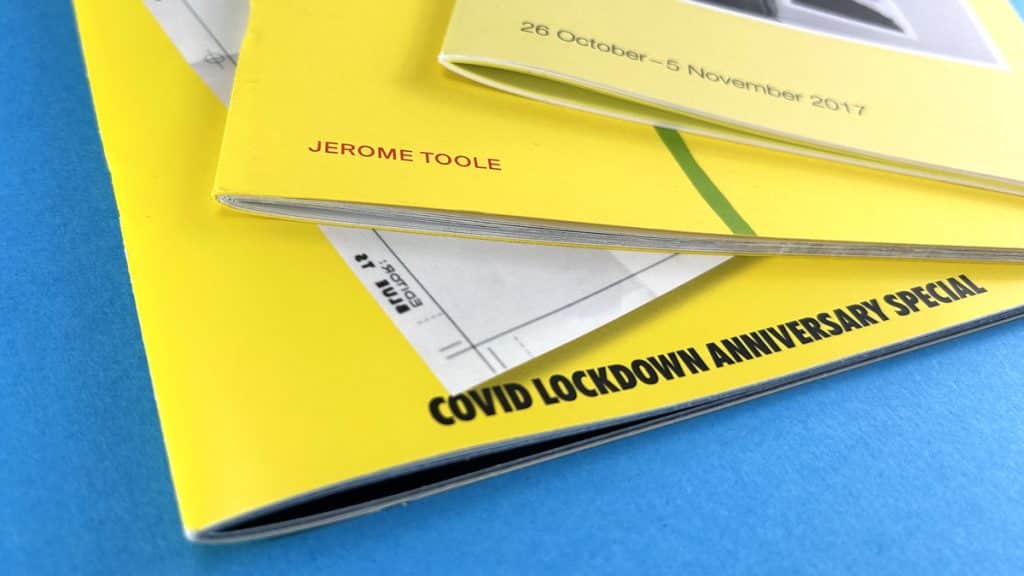
Preparing Artwork for Wire Stitched Booklet Printing

At Ex Why Zed, we are here to guide you through every step of the way. So, grab your drink of choice and settle in for a quick 5-minute read. Trust us, it's as easy as pie! ?
Got Questions? We're All Ears!
If you are just wondering something, we're here for you. Reach out via email, phone, or live chat. We're just a click or a call away.
The 5 Fundamentals of Preparing Artwork for
Wire Stitched Booklet Printing
Here is what we need to print your work:
- A High-Quality PDF: To go to print, all we need is a High Quality PDF. All programs in 2023 generally have an Export to PDF or Save As PDF option.
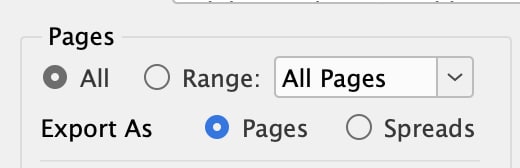
- One PDF with the pages in reading order: For wire-stitched booklets, you will send us one PDF file that includes everything in order from the front cover to the back cover. So exactly the same order as you would like the pages in your finished stapled booklet to be. If you've designed your booklet in spreads, make sure to export it as individual pages. You can do this is Adobe InDesign with one click:
- Multiples of 4. We fold a sheet in half to make four pages of content in your booklet. So the total number of pages HAS to be a multiple of four for us to be able to physically fold and staple the sheets. So aim for 8,12,16,20,24,28,32,36 or 40 pages. We can staple up to 72 pages but over 40 the pages and cover will really bounce open.
- Your Artwork Needs 3mm Bleed: This is crucial. Each page should have a 3mm bleed around the edges. If you're scratching your head wondering what 'bleed' is, check out this handy video. It's a must-watch before you send us your files.
- File Format: When exporting, opt for the PDFx1a:2001 setting, if available. If not, just go for the highest quality output you can find in the menu.
If you have ticked all five boxes here, then your artwork will be ready to go to print. Simple as that. ✅✅✅✅✅
What Should My Artwork Look Like?
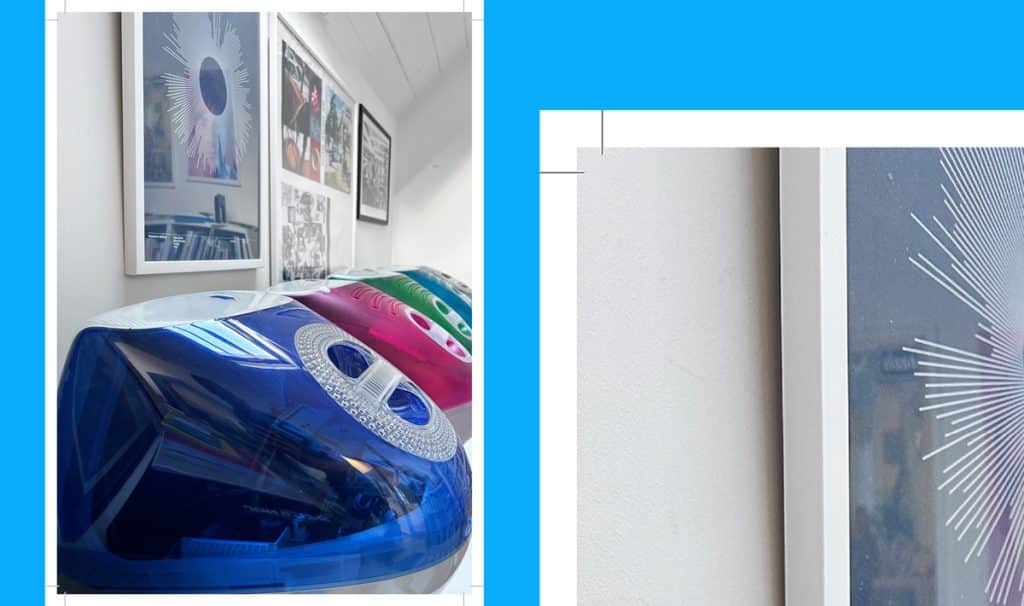
Ideally it will look like this on the first attempt. The PDF page on the left has 3mm bleed and crop marks. In the close-up of the same PDF (right), you can see the image extends beyond the crop marks. This is how we need it.
If it doesn't look like this then to correct the problem, you need to amend one of two things (and it is ALWAYS one or the other of these):
• Have you dragged the background image or colour box out 3mm beyond the black trim line on your Indesign artwork file and into the bleed area? Try that, then export again. Click the image box with the black arrow tool then drag the corner handles out. You might then to reposition the image within the box using the white arrow tool.
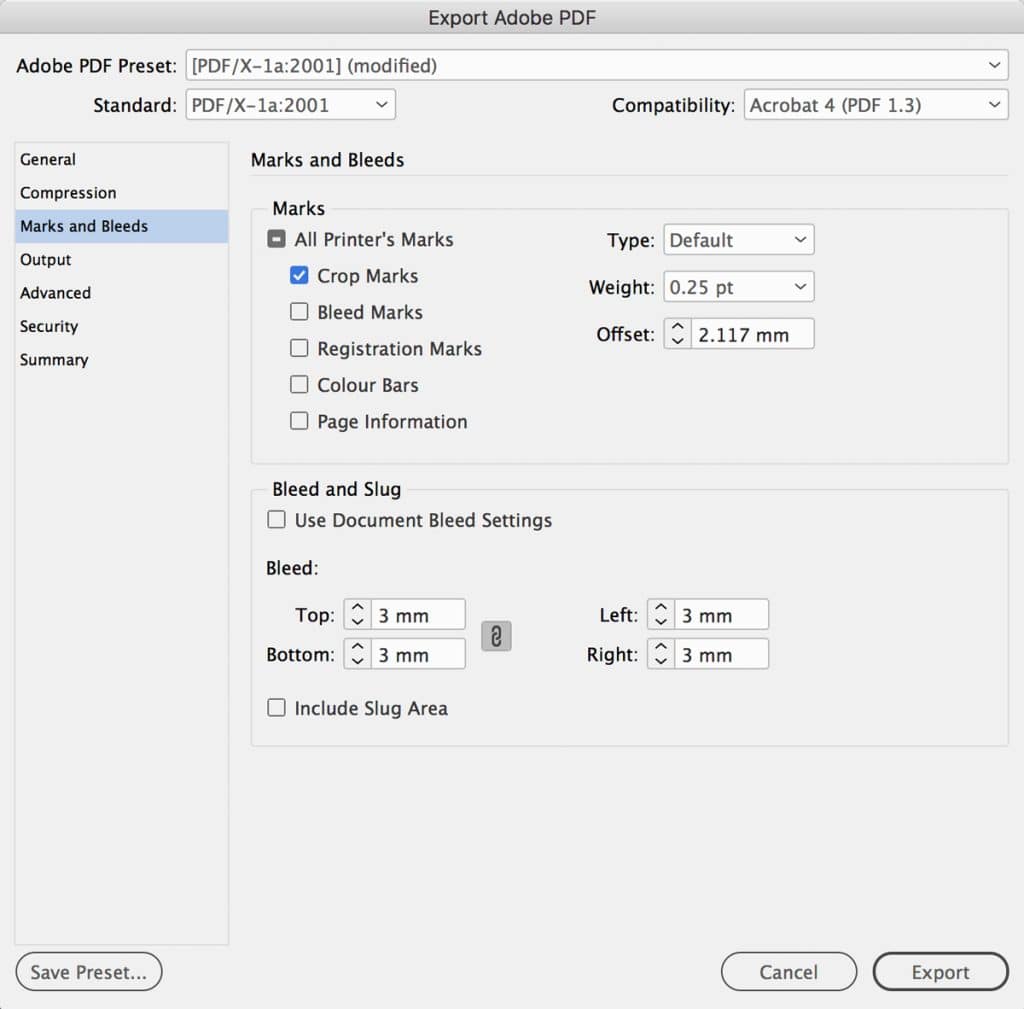
• OR you have done the above but then when you're exporting you need to click the Marks and Bleeds menu, then type '3mm' into the four bleed boxes. This will add the bleed to the pdf. The export settings to choose are shown in the 'Export Adobe PDF' here.
Need more detail on setting up your artwork?
Your Illustrated Guide Awaits. Our step-by-step guides are your go-to resource, answering nearly all the questions you might have. They're like your personal print gurus!
What Is The Best Program To Use For The Artwork?
All of our website's guides on file set-up are for Adobe InDesign which you can get on a one-week free trial. However, as long as you can export your finished work to a high res pdf, do feel free to use your favourite program. Other options are Affinity Publisher, Quark Express, Illustrator, and even Word or Publisher. The same principles and guides still apply when preparing your layout. If you cannot set up your artwork, do ask, we have a wealth of print knowledge and if it is a simple fix we will do our best to help.
If you have never printed anything before and this all sounds like a foreign language, don’t worry, remember we are here to help on email, phone and live chat. If it is out of office hours then all of the answers are all in the Resource section on our website too.
Ready to go ahead to print? ?
If you have prepared the PDF and ticked all the boxes in our checklist above then it sounds like you are ready for production. This is the exciting bit.
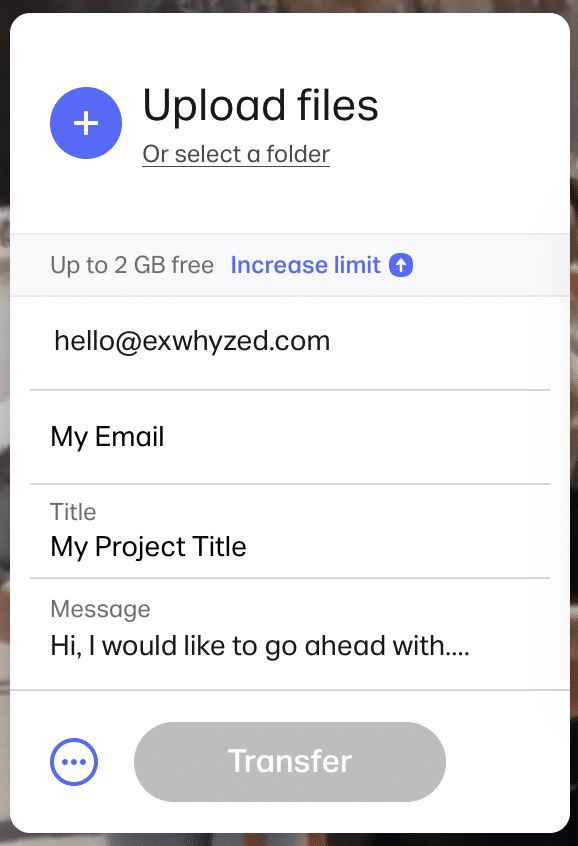
You'll need to upload the files using WeTransfer.com (it really couldn't be easier, you don’t need an account and it is free). Other alternatives to send us the artwork are Google Drive, Smash, MailBigFile or Dropbox.
Add hello@exwhyzed.com in the 'Email to' box.
In the Message box, remind us of
• your chosen print spec
• the number of copies you would like to print
• the best address for us to deliver to.
We will then give your artwork a free preflight check to highlight any potential issues and will email any recommendations before going to production.
If the PDFs are small and under 10mb then do just email them to us.
Need Some Video Help? ?
Here are a few helpful winners from our YouTube channel to highlight parts of the Wire Stitching process.