


A deep dive into how hardback book printing happens at Ex Why Zed
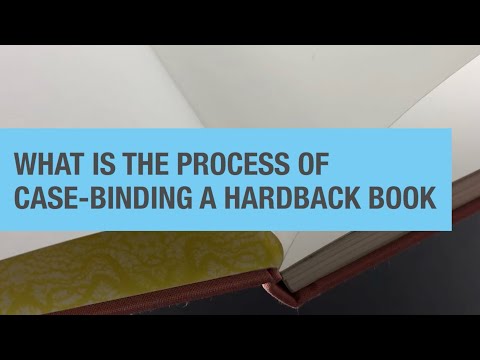
Watch our short video to understand the mechanics of a hardback book binding, visualise where the end papers are positioned and enjoy technical tips to help prepare your artwork for print.
A Comparison Between Hardback and Softback Books
Let us get started with a quick comparison between a case bound hardcover book and a perfect bound soft-back book. The two books above are precision print from exactly the same artwork however, one is case-bound hardback and the other soft back, perfect bound.


You’ll notice the hardback is slightly larger because the cover on the hardback overhangs by 3mm on each side. The inside pages on the perfect bound book sit neat and flush to the top, outer and bottom edge whereas on the hardback coffee table book, the cover overhangs making the overall size slightly bigger.
Both binding styles rely on the inside pages being glued along the left-hand edge. The hardback solution is definitely a more resilient and substantial book which can, in turn, be sold for a higher price through your online shop, in a Kickstarter campaign or on Amazon. Visually impressive publications we have printed often receive widespread praise on creative design websites like itsnicethat, Creative Boom and Creative Review.
Enjoy our insightful case study portfolio of hardback books. Remember, these are real projects we have printed for real people, not the computer generated nonsense you see on the other sites ?
For this blog post, we will just concentrate on the definition of case-bound print and the process of hard back book print from pdf. If we take a look at this image of a flat cover you can see there are three sections of 2.5 mm grey board that make up the hard back cover.


So for the actual hardbook cover making, there is one greyboard panel for the front cover, one through the centre for the spine and one for the back cover. The greyboard panels are 2.5mm thick and form the chunky cover of the final self-published book. Over the this raw case, we then wrap the cover material, whether this be a printed sheet or a specialist book binding material. The greyboard is completely hidden so don’t worry about it being visible on the finished books.
You can see on the image here that the cover wrap continues 17mm beyond the outer cover and tucks around to the inside of the greyboard panels. This 17mm overhang is glued to the inside of the cover along the top, bottom and the two sides. So this extension of the cover page size is what sticks the cover to the hard back case. We call it a ‘case’ and that is where the the term ‘casebound’ or ‘case-bound’ originates.


The 17mm section needs to have the graphics on there if you have a background colour. That is because this is partially visible around the edge when you view the inside covers. It can either be a pureprint colour or if you choose a book binding material for the cover then it would be the colour of the material that is visible. On the example below, you can just about see 3mm of the cover graphic around three of the edges of the cover.
If your graphic designer has added a full colour image on the front and the back cover you might want to continue that image onto the inside on this extra 17mm and then when it’s tucked inside of the hard back case, the image continues there on the 17mm that is partially covered.


The majority of the 17mm overhang is covered by the end papers. On the image above, you can see an example of the endpapers and fly sheet. The endpaper is the first double page spread when you open the cover. It is a continuous sheet of paper, twice the width of the text block. So it’s glued on the left-hand side to the inside of front cover and then the right hand side then forms the first leaf of the book – we call this the ‘fly sheet’. Turning the fly sheet over, there is the reverse and THEN on the right hand side is your first page of actual content. However, you can definitely supply content for all three of these endpaper/flysheet panels. A solid colour or a pattern always looks impressive. Looking at a book from the side profile, you can see the mechanics more clearly.
The end paper is glued to the inside front cover and that is what keeps the text block within the case bound cover itself. The text block is glued with resilient PUR glue along the left-hand edge. If you do have a larger budget then there is an option for us to fold the inside pages into sections and then glue in sections or thread sewn the left-hand edge. That is more of an expensive process which doubles the binding costs because it still tends to be completely by old-school bookbinders and is very retro. It does look impressive though and makes the binding really tough. Our PUR glue is tough in itself and is definitely the cost saving option.
If you are going to print content on the end papers, you would supply us with two double page spreads: one for the double page spread which is the immediate first spread when you open the cover and one for the next spread, half of which is glued to the inside cover. So there is potential to provide three pages of content you can provide artwork for left, right and then left. The same is repeated at the back of the book – two double page spreads with three ‘panels’ of content that can be supplied: right, left and right.
Printing End Papers onto Colorplan
Potentially, we can go for Colorplan paper for the end papers too. This gives you the option of choosing one of GF Smith’s 50 colour choices as a more premium solution than simply printing a colour. Colours may vary when printed from how they look on screen whereas a Colorplan paper ensures a smooth overall colour.
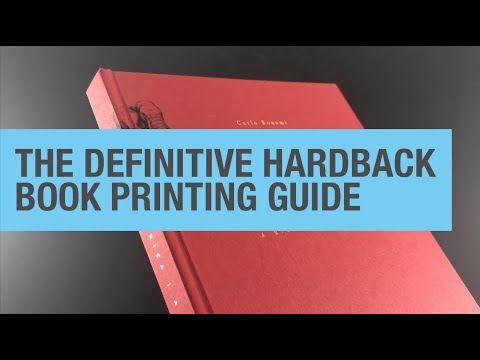
Enjoy our full Video Guide on Hardback Book Printing
Technical Considerations for Hardback Book Printing
Final technical point to ensure precision print…because the endpapers are glued to the first text page you will lose 5mm of the first text page. It is completely obscured because of the glued area. Therefore, you want to keep any content a good 10-15mm away from spine side of that first text page and again, on the last text page to ensure that the reader doesn’t have to really force flat the page to see any information. For pure print, white space tends to be king as graphic design artists know and 20mm might even be a better plan.
How Many Pages Do You Need for Hardback Book Binding?
For the inside pages, we need an absolute bare minimum of 28 inside pages. 28 is really thin 32-36 or 40 would be better. Children’s book authors can struggle to get to 32 but 28 is the absolute absolute minimum. (For under 28 pages we recommend a saddle stitched booklet). 28 pages is just about thick enough for us to glue and bind. Any less and there is just not enough surface area to get the PUR glue down so 28 pages will give you a 3mm thickness on the text block but ideally 32, 36 or 40 would be brilliant if you can get your graphic designer’s creative cogs whirring and generate the extra pages. We can then go ahead and push print on to our litho or digital printing machines.